![]()
Floral Imprinting DIY | Velia de Iuliis
An age-old but newly-en vogue technique of dyeing fabric, Floral Imprinting is the process of drawing out pigment from organic material such as flower petals, leaves and other natural flora that can be found as close as your own back yard (or closer)!
 Not sure what to do with that week-old and wilting bouquet from what’s-his-name? Afraid to toss that flower crown from your sister’s wedding? In need of a use for some vegetable scraps or fruit that are past their prime? This is the DIY for you.
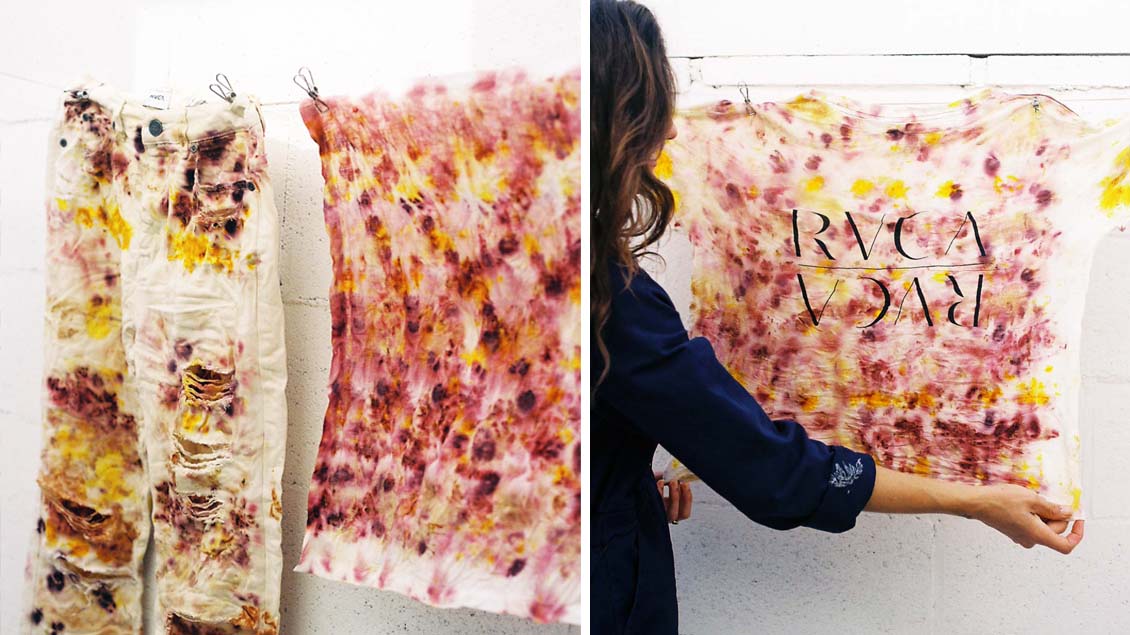
A perfect use for all those organic materials & more, floral imprinting gives a new life to what may have been on its way out, and that doesn’t just go for the flower petals or lemon peels! Stained clothing, old bedsheets, towels, cloth napkins & more all serve as ideal canvases for recreating something old & bland into something new & vibrant. See how, demonstrated by RVCA ANP Artist Velia de Iuliis, below!
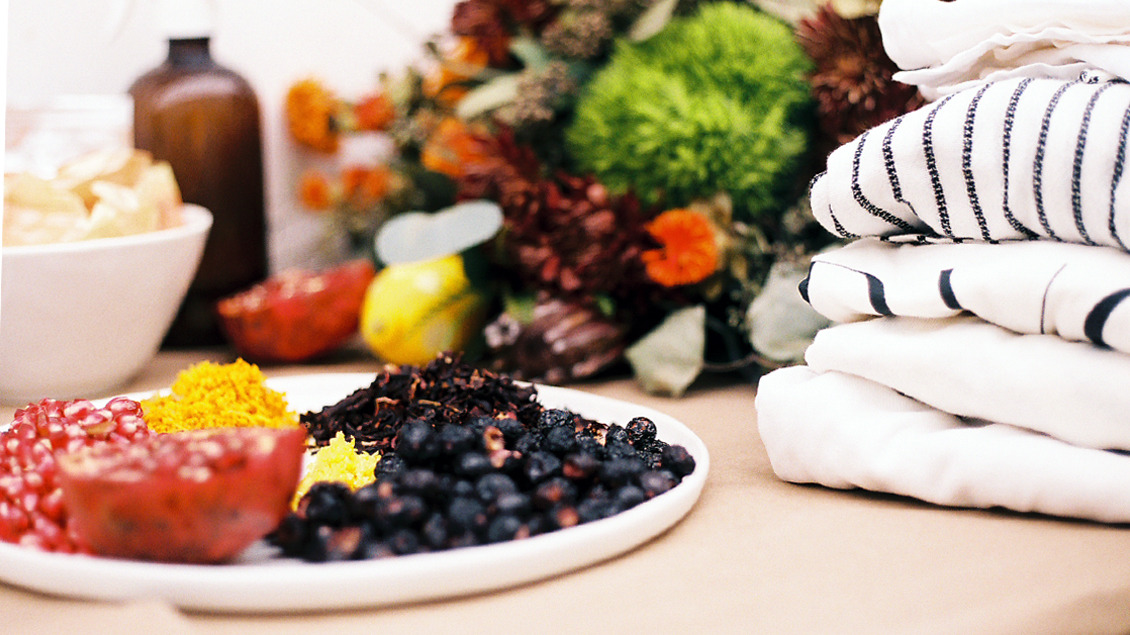
Step 1 - Gather Your Materials
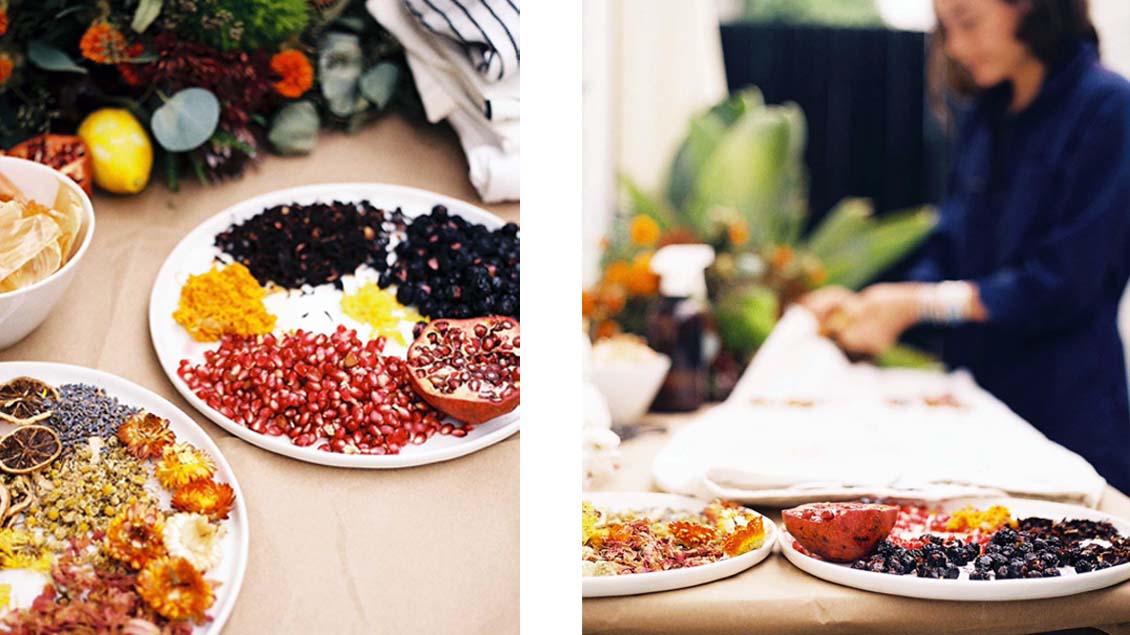
The Dye
Many types of organic matter will work for this process, but we’ve listed below a few of our favorites, all of which can be dried or fresh
- Purple Gomphrena
- Green Luo flower
- Rose petals
- Rose buds
- Lavender
- Rose crown
- Calendula Officinalis
- Chrysanthemum
- Helichrysum Bracteatum
- Chamomile
- Hibiscus)
- marigold
- pomegranate
- beets
- eucalyptus
- Lemon / lemon peel
- Onion skins
- Turmeric
- Blueberries
The Canvas
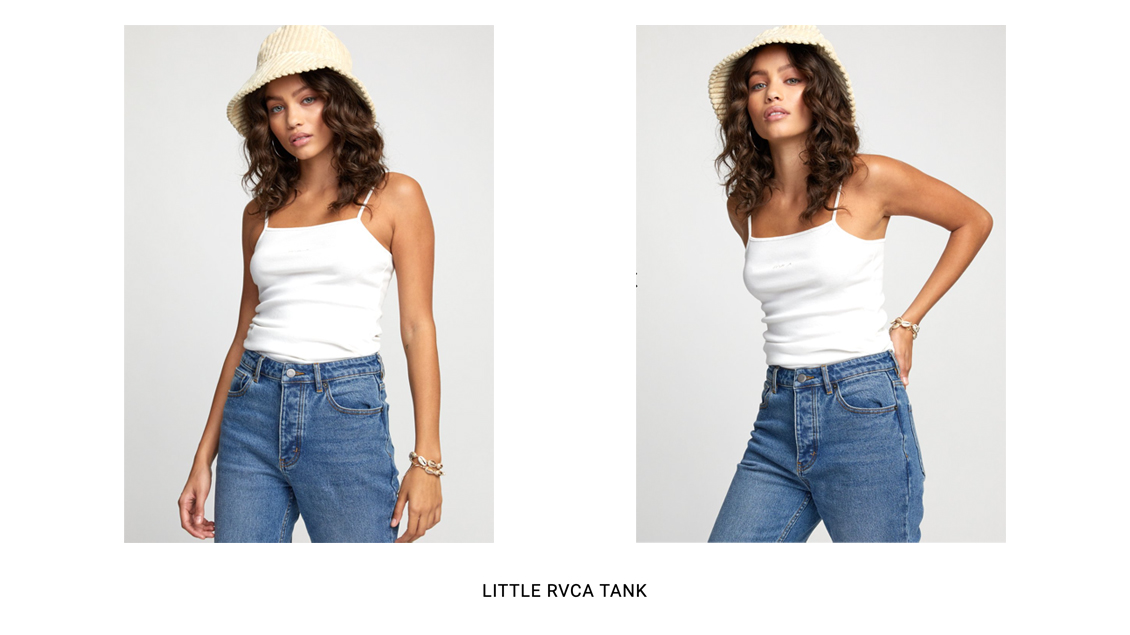
As you may expect, natural fabrics also work best for this process, as the dye adheres more effectively to the fibers. Best options include cotton, wool, silk or linen. In this experiment, we are working with 100% cotton garments, which can be found below!
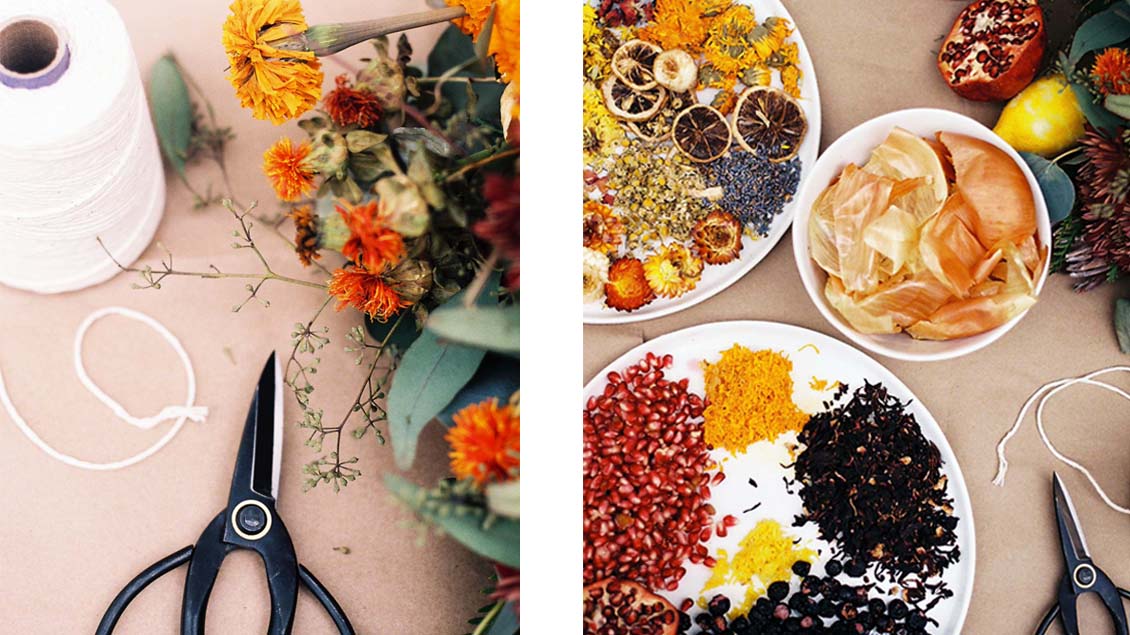
TOOLS
- Dye Pot
- Large glass/steel bowl
- Strainer
- Tongs
- Newspaper
- Dropcloth
- Soy Milk (if doing a soy milk mordant)
- Colorless Twine
- Vinegar
- Rubber gloves
- Clippers/Scissors
- Clothespins
- Apron
Note: To prep our garments and ensure color-fastness over time, we implemented a process called Mordanting a week prior to dyeing, which can be learned about here. For this particular process, we used a soy milk mordant.

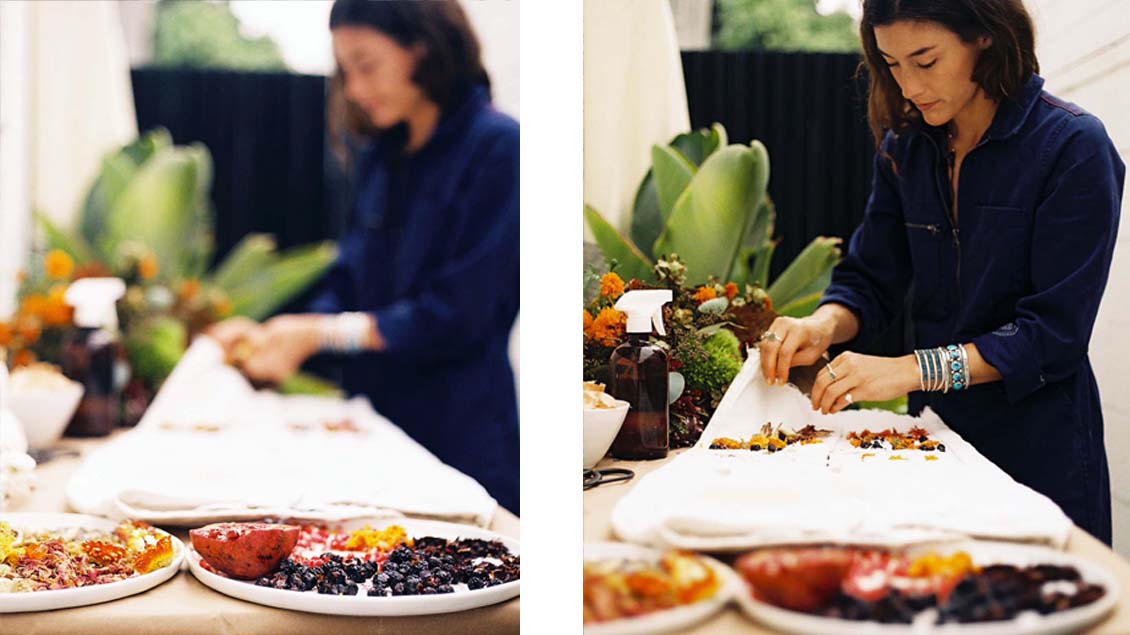
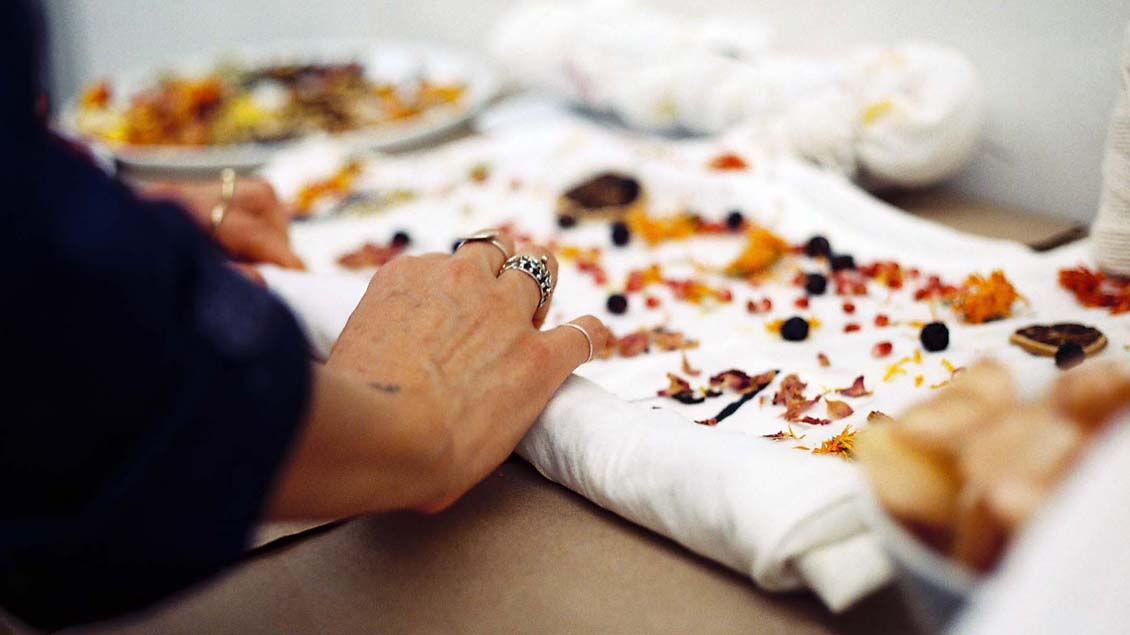
PROCESS
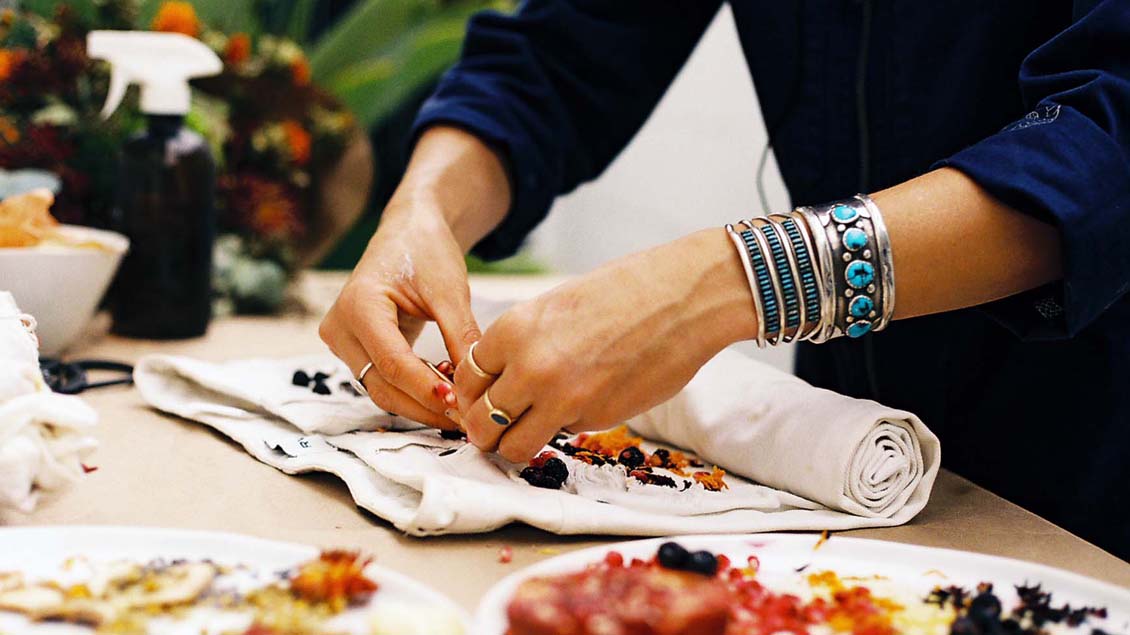
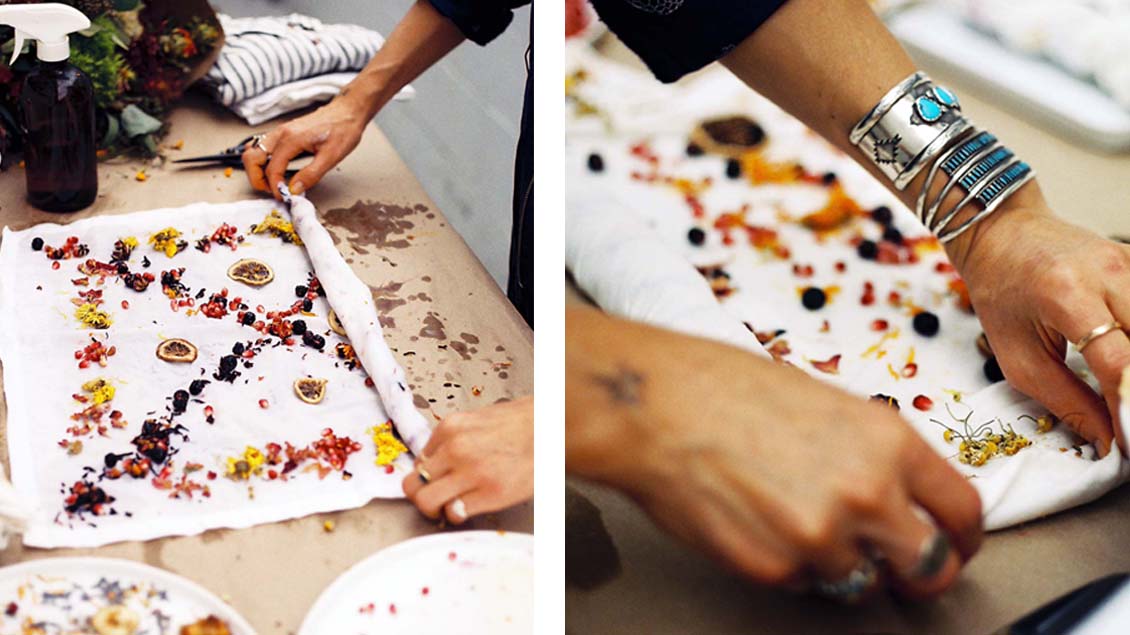
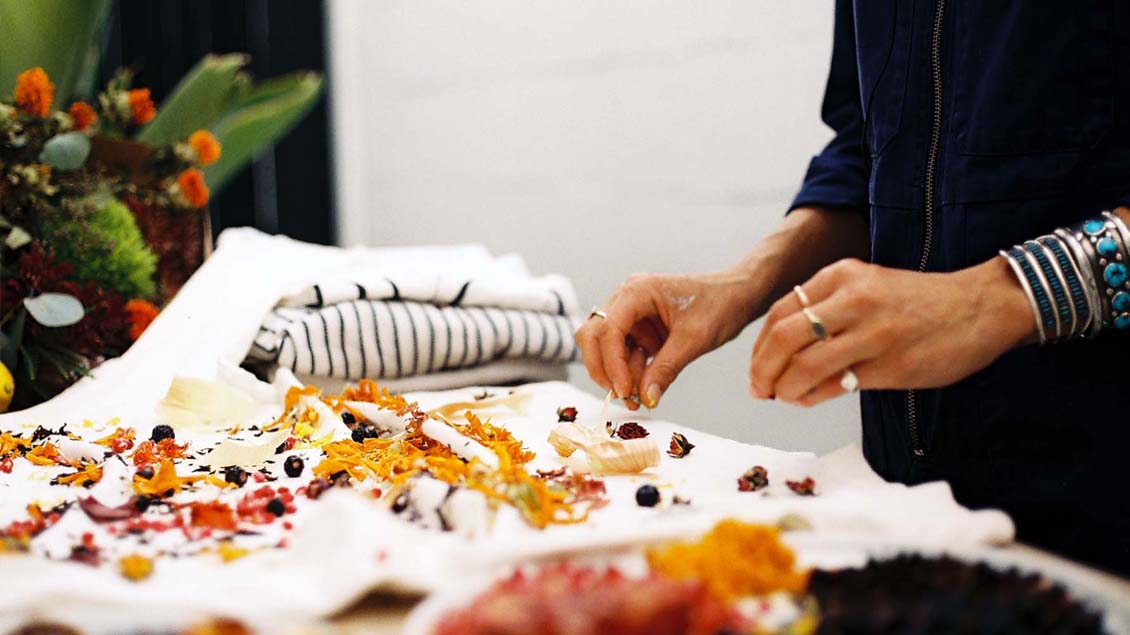
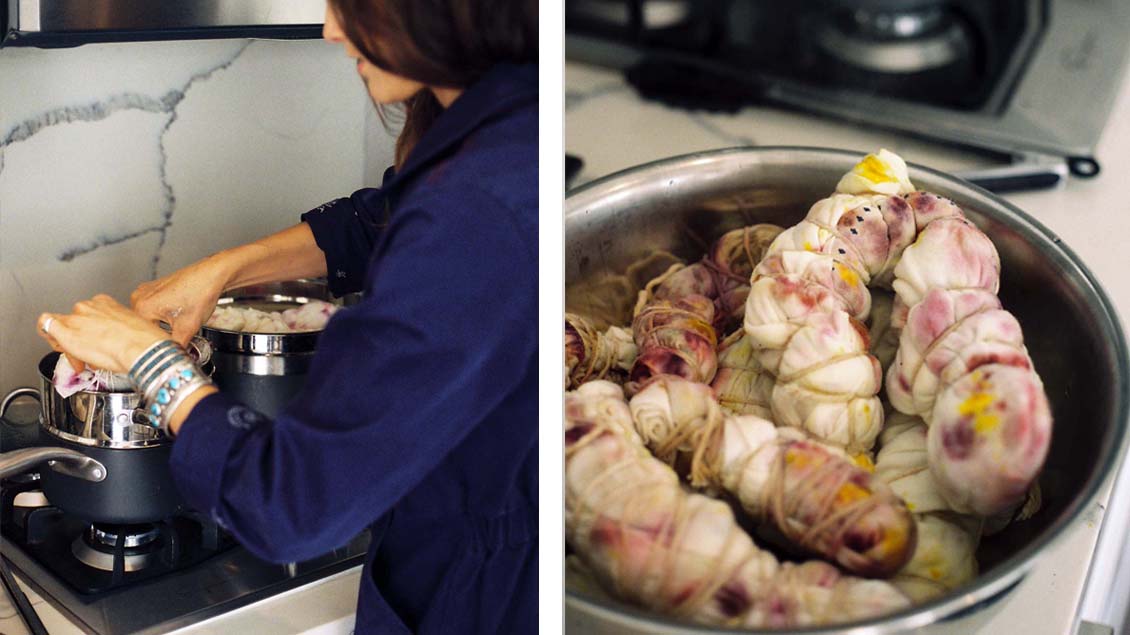
- Lay garment on a flat surface You can spritz your garments with vinegar to dampen them and enhance the pigment release from your plant matter
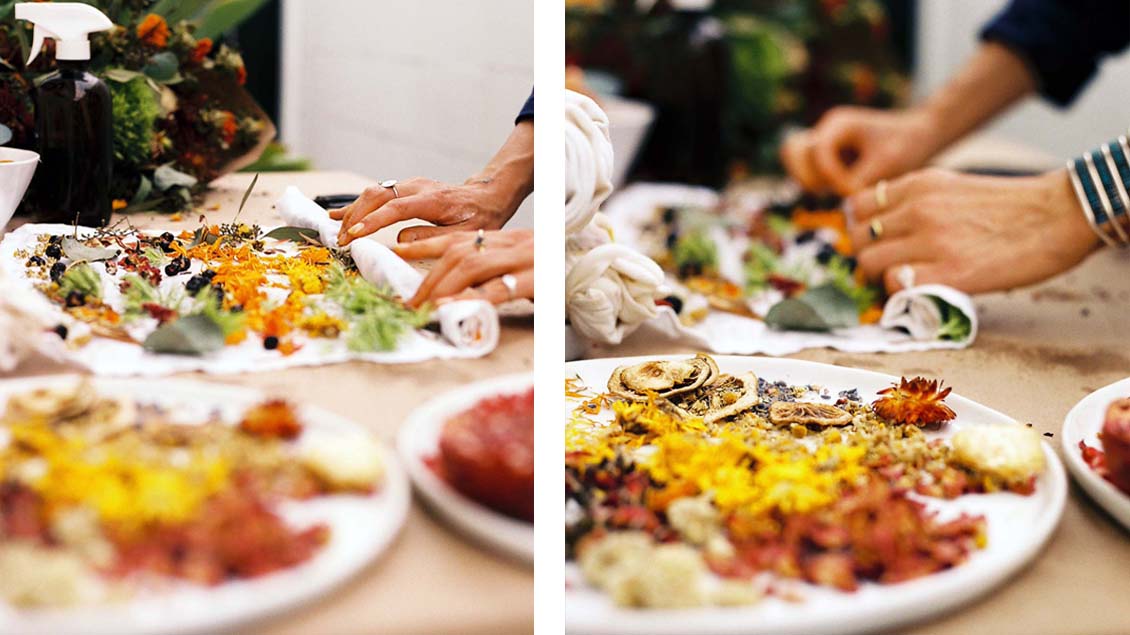
- Create a pattern with your plant matter. Get creative, try different combinations of flora, fruit and vegetable matter for different color expressions
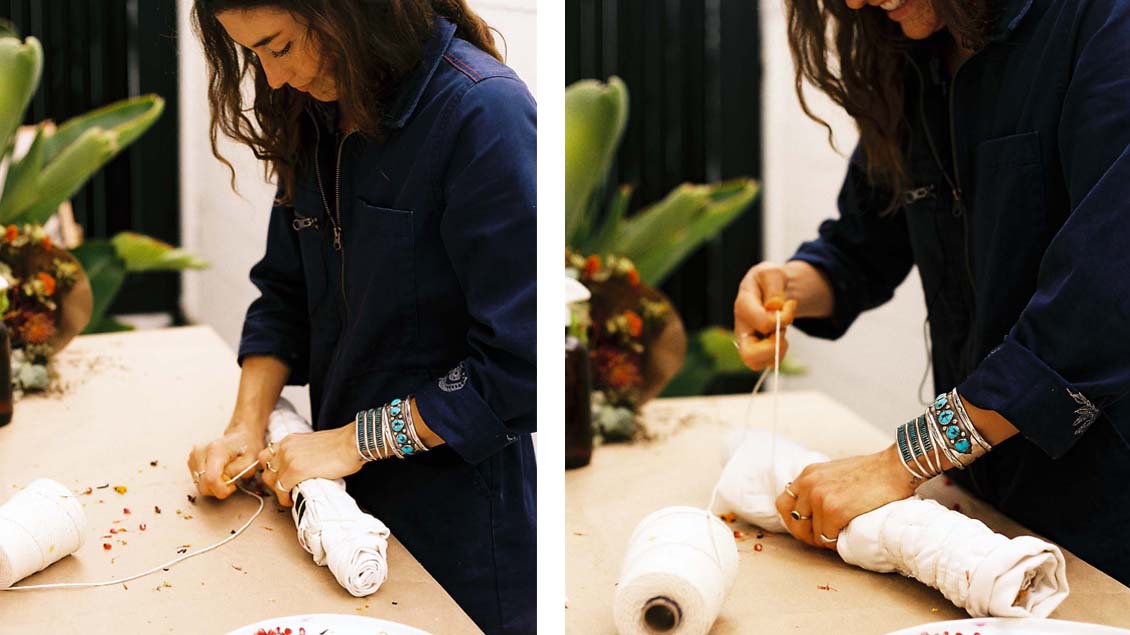
- Carefully roll up your garment, fold and bind with twine (the tighter, the better!)


Step 2 | Soak in Vinegar Bath
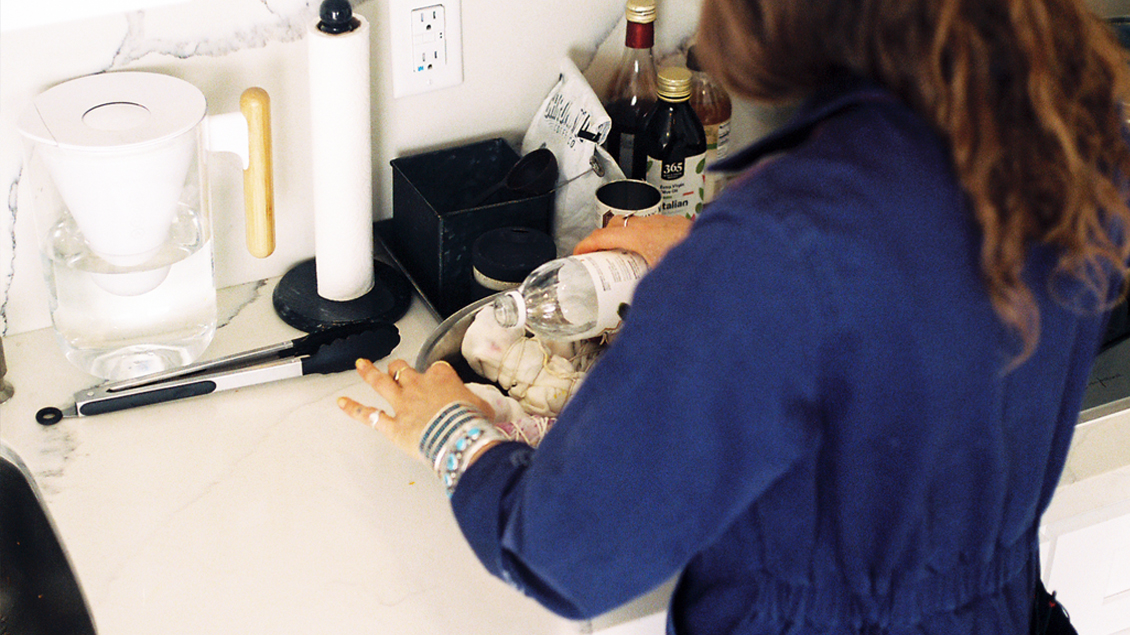
- Once all of your garments have been bundled, Soak in a vinegar bath (can be diluted 1:1 with water)
- 10-15 min
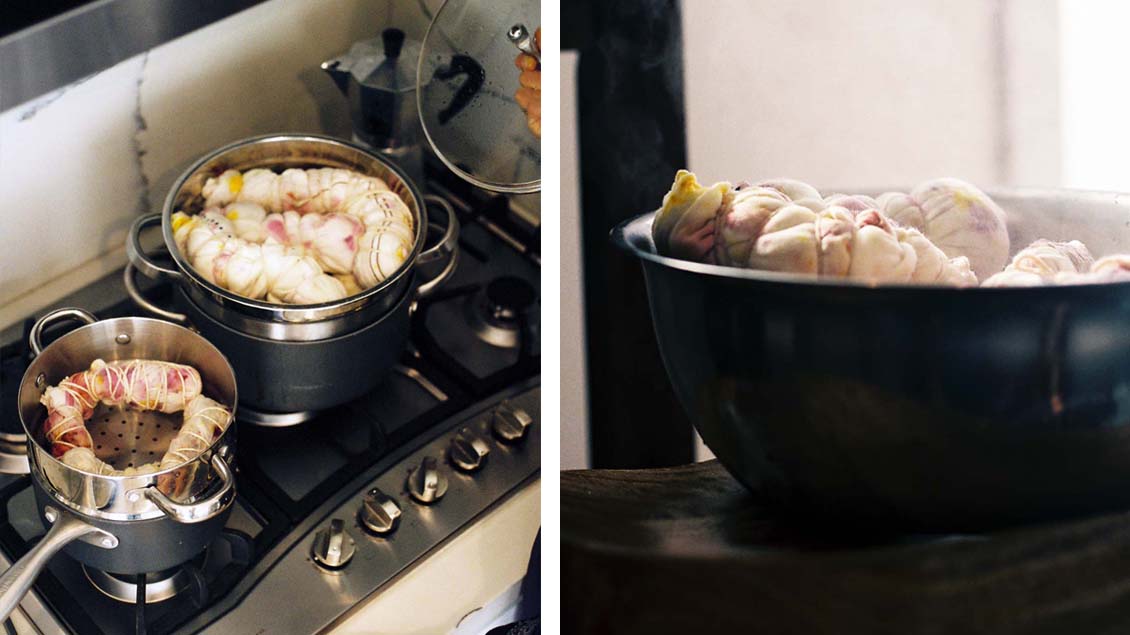
Step 3 | STEAM
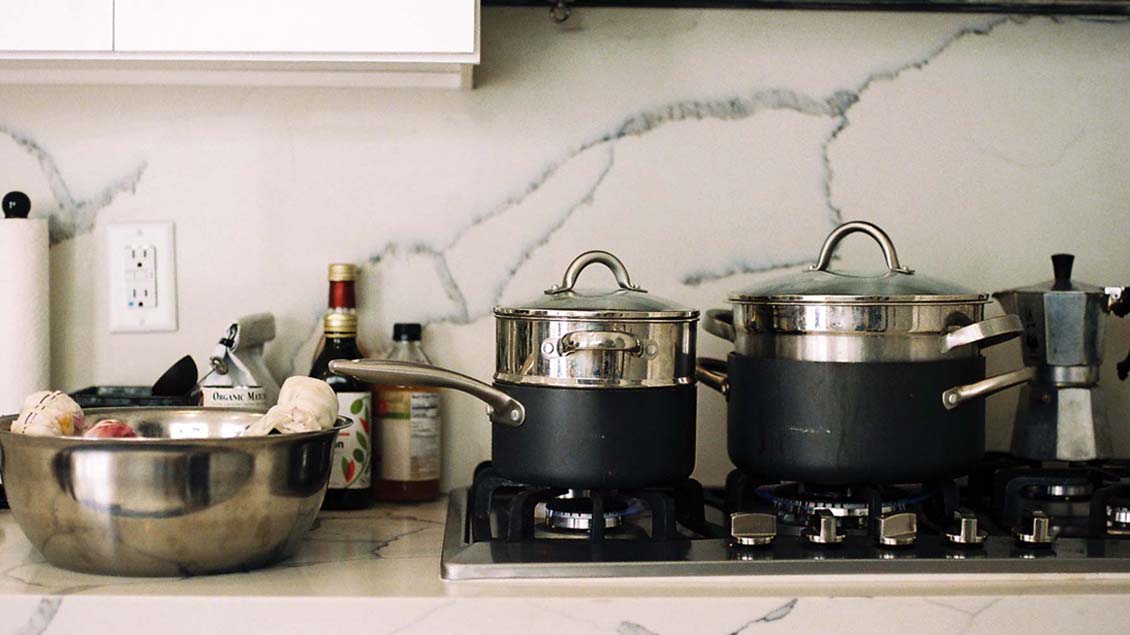
- Once soaked, you should begin to see the color really come out and soak into the fibers of your garments
- Place all of your bundles in colander over pot of boiling water
- Allow to soak up steam, adding more water if needed
- 45m - 1h
Step 4 | Let Cool
- After steaming on the stove, remove bundled garments from steam baths and allow to cool, or rinse gently in cold water until cool enough to handle
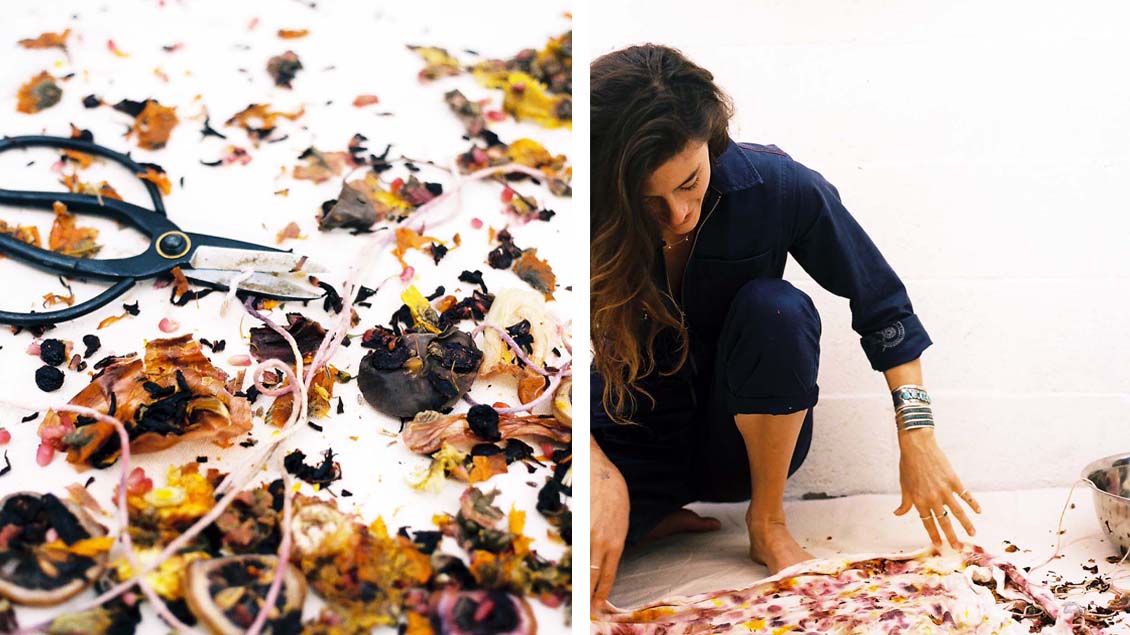
Step 5 | Reveal
.jpg)
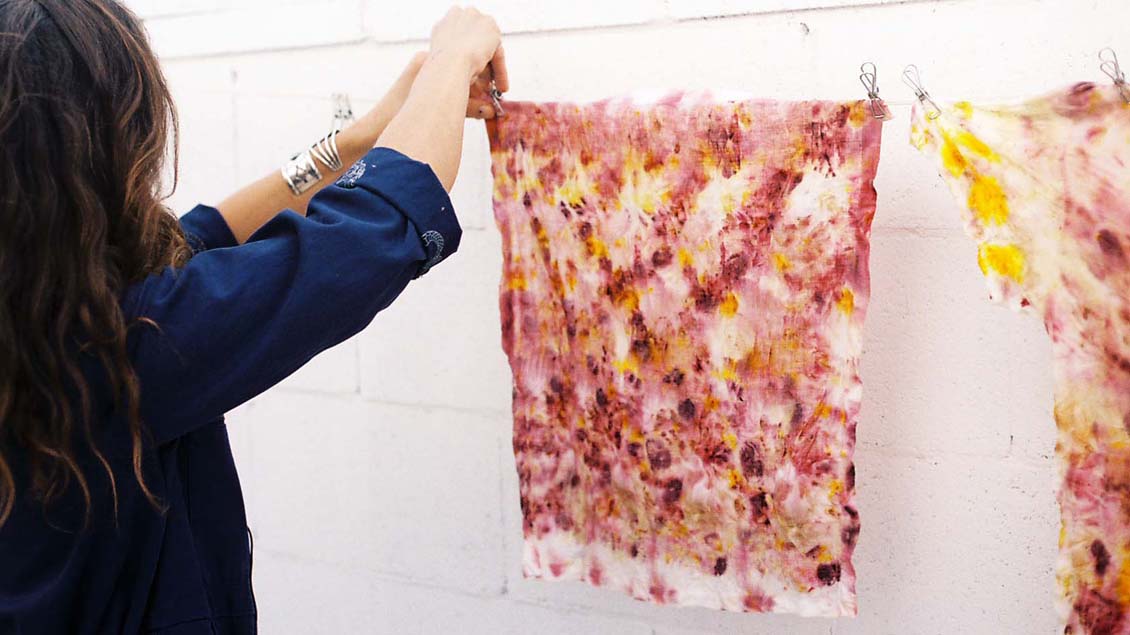
- Now comes the best part - revealing your newly enlivened garments!
- Snip away any twine and unravel each piece
- Be sure to do this outdoors or over a drop cloth or covered surface to prevent staining of floors
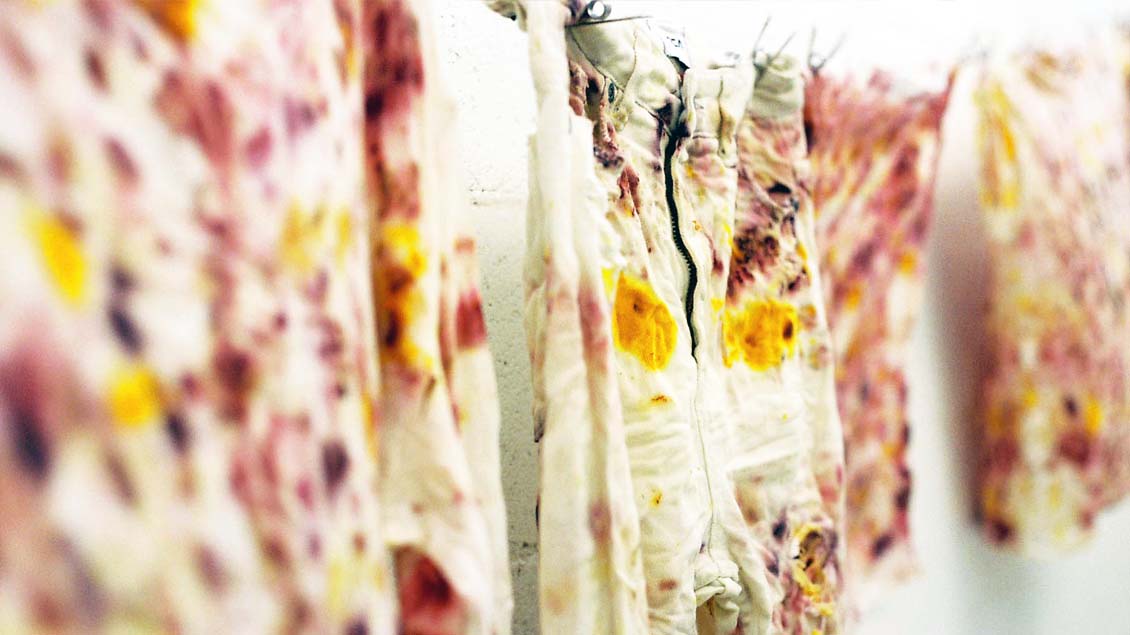
- Hang dry and allow to dry overnight, iron to set the print
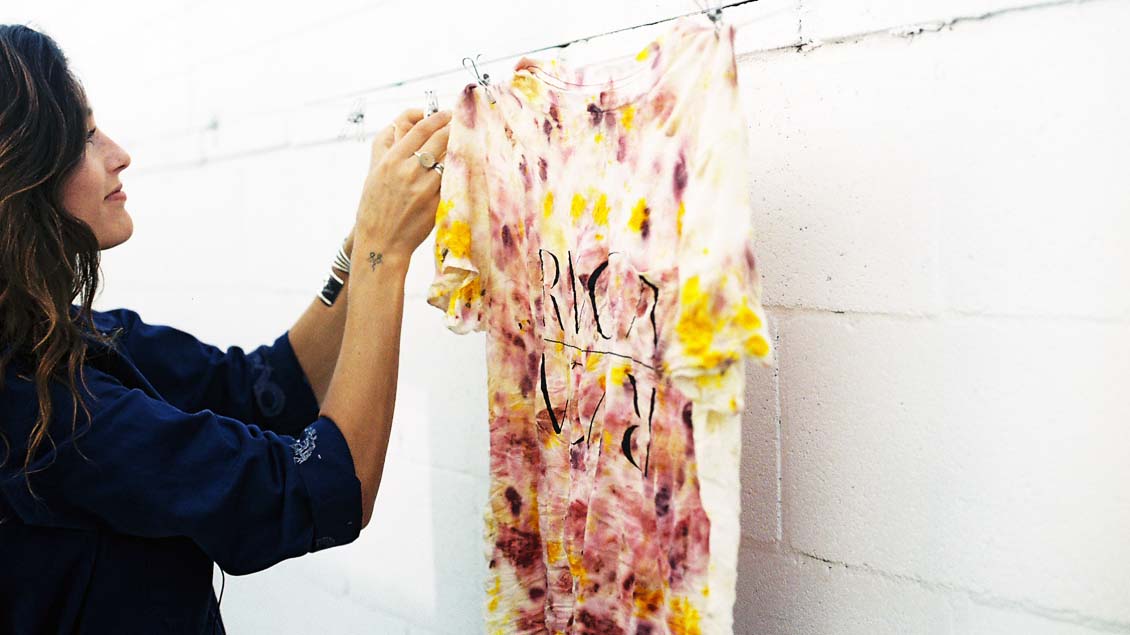

Once the garments have dried, run them through the wash once on their own, on Delicate cycle, to wash out any remaining color and prevent staining on other garments.
Enjoy your newly-died and wonderfully unique garments and home wares!
DYE YOUR OWN


.jpg)


Share your own DIY floral dyeing with us | Tag @rvca_womens #RVCAwomens
Americas
APAC / ASIA
Europa
In diesem Abschnitt findest du Antworten auf die am häufigsten gestellten Fragen.